How to Install Mysql Workbench in Ubuntu 18.04 Using Terminal
MySQL Workbench is a graphical user interface tool used for the MySQL database management. Mainly, this tool is used by database architects, administrators, and database developers to visualize the design of the database.
MySQL Workbench provides various features in which visual SQL development, connection management, database migration, visual DB administration, and data modelling are included. It is a cross-platform software that can be installed on various operating environments such as Linux, Windows, and Mac OS. MySQL Workbench has three different editions, community, standard, and enterprise. The community edition is open-source. Therefore, it can be used for personal use.
In this article, we will discuss how you can install MySQL workbench on Ubuntu20.04 using the command line. Let's start!
Installation of MySQL Workbench on Ubuntu 20.04
You can install MySQL workbench using the following two ways:
- Using the apt repository
- Install MySQL workbench using Deb packages
Using the apt repository
You need to perform the below-mentioned steps to install MySQL workbench on your Ubuntu system.
Step 1: Download configuration file from the apt repository
Using this method, you can install MySQL from the official apt repository. For this purpose, download the repository configuration file from the given URL https://dev.mysql.com/downloads/repo/apt/. When you browse this URL, it will take you directly on the download page from where you will download 'mysql-apt-config_0.8.15-1_all.deb' repo configuration file. Click on the Download option.

On the next page, it will ask you either you want to register or log in. If you don't want to select these options then, click 'No thanks, just start my download' link to download the required package to your system's local directory.

The following dialogue box will appear on the system. Choose the Save File option and select the location where you want to save the download. Otherwise, by default, it will be saved into your system Downloads.

Check the downloaded configuration file in the particular directory. To do that, navigate into the Downloads using the following command and list files.

Step 2: Configuration of MySQL apt config
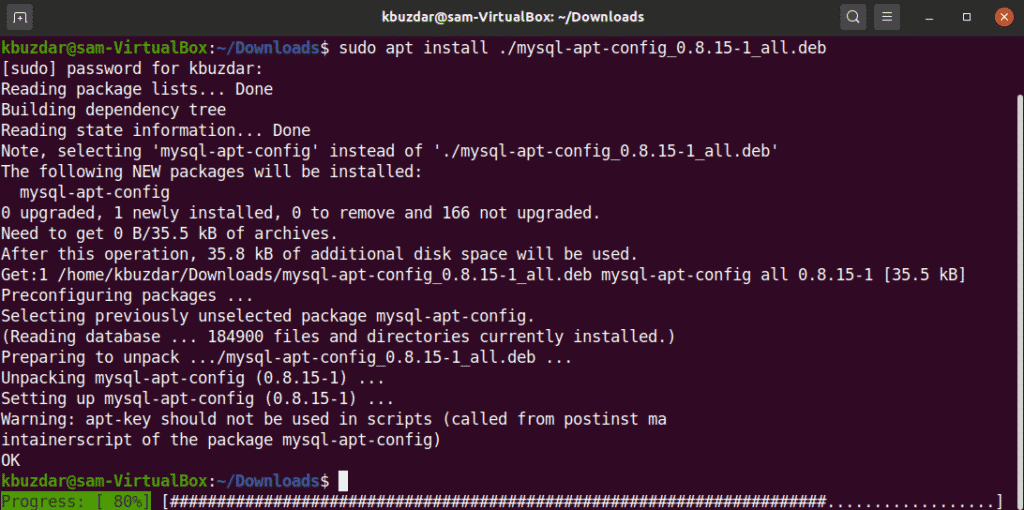
Use the following command to add MySQL repository URLs in the apt sources list so that you can install the software on your Ubuntu 20.04 system.
$ sudo apt install ./mysql-apt-config_0.8.15-1_all.deb

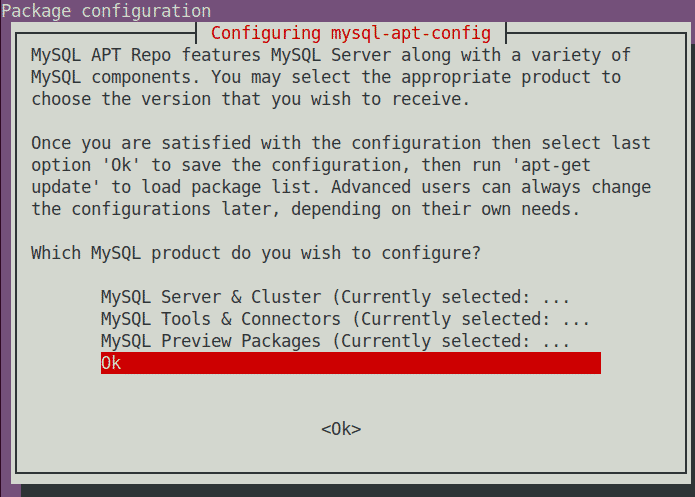
During the installation, you will be asked to choose the version of MySQL. Here, it is preselected. Therefore, select OK by navigating the down arrow key and then hit 'Enter' from your keyboard.
After that, it will further complete the installation process.
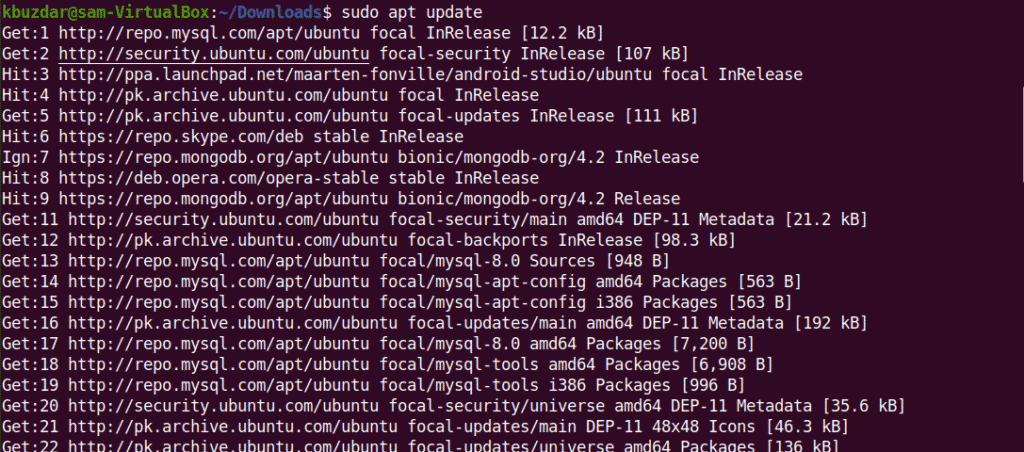
Step 3: Update apt-cache
Update the apt cache using the following command to update the configuration URLs.
Step 4: Installing MySQL Workbench on Ubuntu 20.04
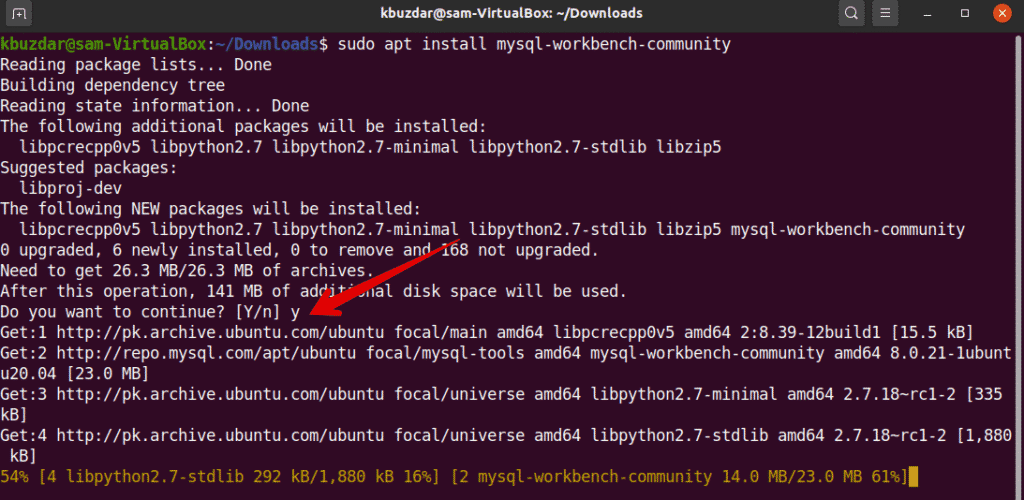
Now, it's time to install MySQL workbench using the apt repository. To do that, execute the following command to install MySQL workbench.
$ sudo apt install mysql-workbench-community
Step 5: Launch MySQL Workbench
Once the installation is complete, you will finally launch the MySQL Workbench on your system. You can launch it using the terminal by typing the following command:
You can also launch MySQL Workbench from the application launcher as follows:

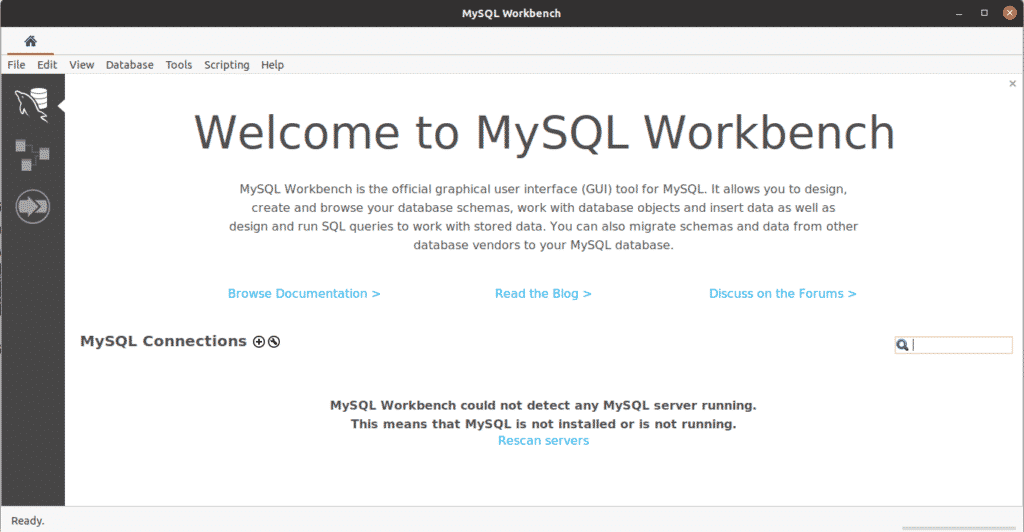
Click on the displaying MySQL workbench icon. You will see the following interface on your Ubuntu system.
Install MySQL workbench using Deb packages
You can also download the MySQL workbench directly from SQL official website. Then, you can install it with the help of the following method:
Step 1:
Download the MySQL workbench using the following URL https://dev.mysql.com/downloads/workbench/. Now, you will choose the following options manually.
1. Choose 'Ubuntu Linux' operating system.
2. Choose the operating system version; here, we are selecting 'Ubuntu Linux 20.04 (x86, 64-bit)' according to our system specifications.
3. Click on 'Download' 
4. On the next window, you will select 'No thanks, just start my download' to download the deb packages into your local directory.

Step 2:
Once the download is completed, now navigate into 'Downloads' and issue the following command to install the deb packages with all its dependencies.
$ sudo apt install ./mysql-workbench-community_8.0.20-1ubuntu20.04_amd64.deb
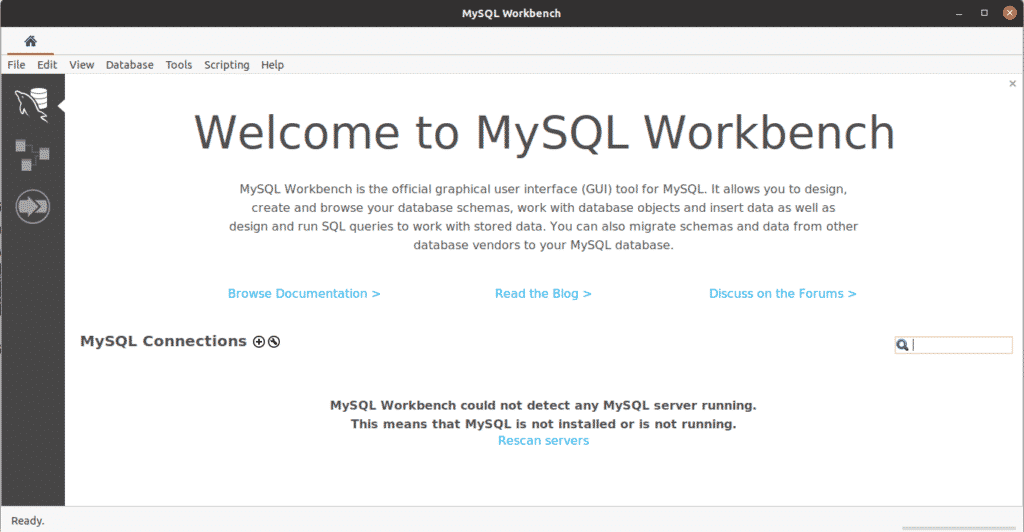
Step 3: Launch the MySQL workbench on your Ubuntu system.
That's all about the installation of MySQL workbench on Ubuntu 20.04.
Uninstall MySQL Workbench
If you don't want to use this tool further, then you can remove MySQL workbench from your Ubuntu system using the following command.
$ sudo apt remove mysql-workbench-community
Conclusion
In this article, you have learned how to install MySQL workbench on Ubuntu 20.04 system using the terminal commands. Moreover, you have learned how to add an apt configuration file into the source list. Further, you can explore the use of MySQL workbench and SQL commands. I hope this article will help you in the future.
About the author

Karim Buzdar holds a degree in telecommunication engineering and holds several sysadmin certifications. As an IT engineer and technical author, he writes for various web sites. He blogs at LinuxWays.
How to Install Mysql Workbench in Ubuntu 18.04 Using Terminal
Source: https://linuxhint.com/installing_mysql_workbench_ubuntu/
0 Response to "How to Install Mysql Workbench in Ubuntu 18.04 Using Terminal"
Post a Comment